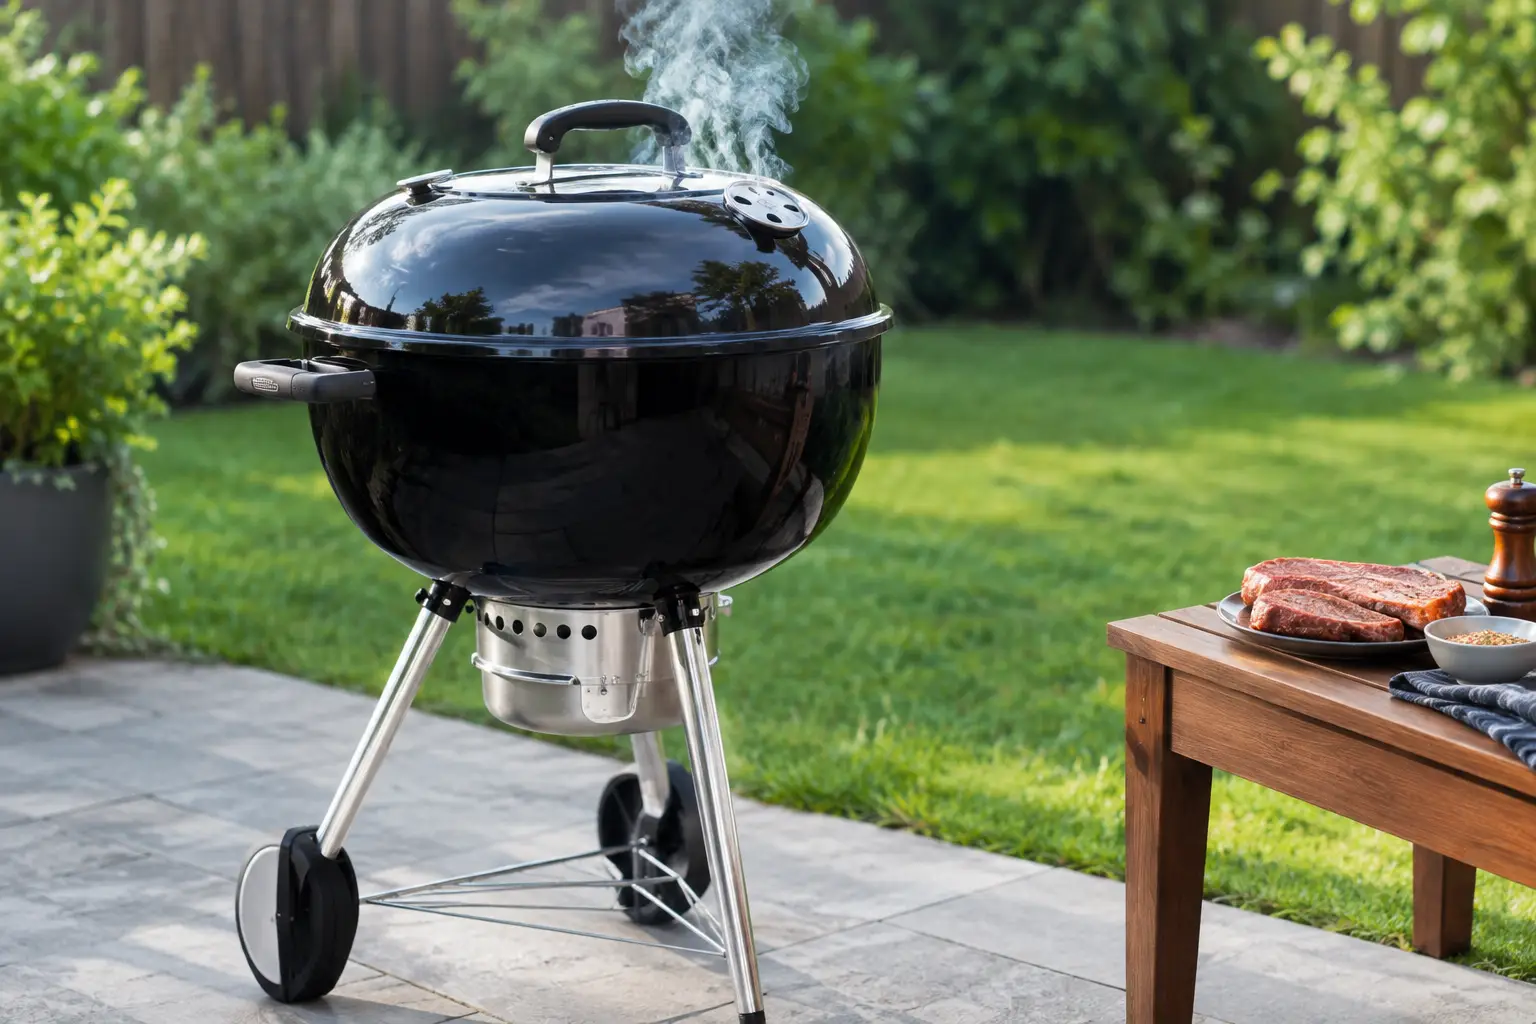
A charcoal smoker does not need a huge backyard, a competition-size brisket, or a full day of guesswork. It needs a safe spot, a little patience, and a dependable routine. This charcoal smoker for beginners guide walks you through the choices and techniques that make your first cooks feel manageable from the start.
Choose a charcoal smoker that fits your space
The best first smoker is usually the one you will actually use. Before comparing features, think about where it will sit, how many people you cook for, and how much hands-on cooking you enjoy.
A [vertical water smoker](https://www.theoutsideedit.com/16-3tier-portable-charcoal-smoker-grill-with-easy-temperature-control-black-vertical-grill-for-camping-outdoor-cooking-and-backya) is a popular beginner option because it is compact, affordable, and designed for low-and-slow cooking. Its water pan helps moderate heat and adds moisture to the cooking environment. It is a good fit for ribs, chicken, pork shoulder, and smaller gatherings.
A kettle grill can also work well as a smoker when set up for indirect heat. This is a smart choice for homeowners or renters who want one charcoal cooker that can handle burgers on a weeknight and smoked chicken on a weekend. The trade-off is that a kettle has less cooking capacity and may require more attention during longer cooks.
Offset smokers offer more room and a traditional barbecue look, but they demand more fuel management. Budget models can be especially challenging because heat and smoke may escape through thin metal or loose-fitting doors. For a first charcoal smoker, simple is often better.
Look for stable legs, an easy-to-read thermometer, adjustable air vents, and grates that are easy to remove for cleaning. A cover is also worth considering if your smoker will live on a patio or deck through changing weather.
Set up your smoker safely
Place your smoker outdoors on a level, noncombustible surface, well away from walls, railings, furniture, dry leaves, and overhangs. Never use a charcoal smoker in a garage, enclosed porch, tent, or other covered space. Charcoal produces carbon monoxide, which is odorless and dangerous.
Keep a heat-resistant glove, long-handled tongs, and a chimney starter nearby. A chimney starter lights charcoal without lighter fluid, which can leave an unpleasant chemical flavor on food. Fill the chimney with charcoal, place crumpled plain paper or a fire starter underneath, and let the coals burn until they are mostly covered in gray ash.
For smoking, avoid pouring a full chimney of hot coals across the entire charcoal grate. That creates more heat than most low-and-slow cooks need. Instead, arrange unlit charcoal in a bank or a ring, then add a smaller amount of lit charcoal to one end. This method lets the fire move slowly through the fuel and gives you a longer, steadier cook.
The charcoal smoker for beginners temperature routine
Most beginner recipes cook best between 225°F and 275°F. You do not need to hold one exact number every minute. A smoker naturally rises and falls, and a steady range is more useful than constant vent adjustments.
Start with both vents open so the fire can establish itself. Once the smoker approaches your target temperature, begin closing the intake vent in small increments. The intake vent controls oxygen, so it is your main tool for managing heat. The exhaust vent should usually stay at least partly open. Closing it too much can trap stale smoke and leave food with a harsh, bitter taste.
Give every adjustment time to work. It can take 10 to 20 minutes for a vent change to show up at the cooking grate. New smokers often make the mistake of chasing the temperature: closing a vent, reopening it two minutes later, then adding more charcoal. Slow adjustments produce better results.
A built-in lid thermometer is helpful, but it may not show the temperature where the food sits. A separate probe thermometer placed near the cooking grate gives you a clearer reading. For meat, use an instant-read thermometer or leave-in probe to check doneness. Color and cooking time are helpful clues, but internal temperature and tenderness are more reliable.
Use clean smoke, not heavy smoke
Good barbecue smoke should be light, clean, and almost invisible with a faint blue tint. Thick white or gray smoke often means the wood is smoldering instead of burning cleanly. That can create a bitter coating on your food.
Use hardwood chunks rather than a large pile of chips. Chunks burn more slowly and are easier to manage during long cooks. Two or three fist-size chunks are enough for many beginner recipes. Place them among the charcoal before you add the lit coals, so they catch gradually.
Hickory and oak offer a stronger, classic barbecue flavor. Apple, cherry, and pecan are milder choices that pair especially well with chicken, pork, and vegetables. There is no need to soak wood chunks. Dry wood catches more predictably, while soaked wood mostly spends time steaming before it begins to smoke.
Start with forgiving foods
Brisket has a devoted following, but it is not the easiest first cook. It is large, expensive, and sensitive to timing. Start with foods that give you room to learn how your smoker behaves.
Chicken thighs are a great first choice because they are affordable, flavorful, and forgiving. Smoke them around 275°F until the thickest part reaches at least 175°F for tender dark meat, then let them rest briefly before serving. Pork ribs are another good project, though they take longer. Cook until the rack bends easily when lifted from one end and the meat has pulled back slightly from the bones.
Pork shoulder is ideal when you want to practice a longer cook without worrying over every degree. It can take many hours, but it is done when a probe slides into the meat with very little resistance, usually around 195°F to 205°F. If the temperature stops rising for a while, do not panic. This is the stall, when moisture evaporation cools the surface. Keep your smoker steady and let time do its job.
For any meat, let it rest before slicing or pulling. A short rest helps juices settle and makes serving easier. Small cuts may need 10 to 15 minutes, while a large pork shoulder benefits from a longer hold.
Plan for fuel, weather, and cleanup
Charcoal cooks are affected by wind, cold, rain, and the amount of food in the smoker. A windy day can make a small smoker run hot. Cold weather can increase fuel use. Leave yourself extra time, especially for a first cook, and avoid serving plans that depend on food being ready to the minute.
Keep extra charcoal on hand. If you need to add fuel, light it in a chimney first whenever possible. Adding a pile of cold charcoal directly to the fire can lower the smoker temperature and create dirty smoke while it ignites.
After cooking, close the intake and exhaust vents to help extinguish the coals. Wait until the smoker is fully cool before removing ash. Emptying ash after each cook improves airflow and helps prevent moisture buildup inside the cooker. A clean grate, a dry cover, and a simple check of the vents before each cook will keep your setup ready for the next backyard meal.
Build confidence one cook at a time
Your first smoked meal does not have to be perfect to be a success. Take a few notes on the weather, charcoal amount, vent settings, and cook time. After two or three cooks, you will start to recognize how your smoker responds and which foods your household asks for again.
Set up a comfortable cooking area with a small prep table, [outdoor lighting](https://www.theoutsideedit.com/lighting-and-ceiling-fans) for evening cooks, and [seating where family](https://www.theoutsideedit.com/patio-furniture) or guests can enjoy the backyard while the smoker works. Shop the outdoor essentials that fit your space, then light the coals and give yourself permission to learn one good cook at a time.